In the world of illustration, creating three-dimensional effects can add depth and realism to your artwork. Whether you’re working on a logo, a graphic design project, or even an illustration for a children’s book, knowing how to create 3D effects in Adobe Illustrator can take your artwork to the next level. In this article, we’ll explore techniques and tips that will help you bring your illustrations to life by adding depth, dimension, and a touch of magic with 3D effects. So grab your digital pen and let’s dive into the world of 3D illustration in Adobe Illustrator!
Choosing the Right Tools and Settings

Selecting the appropriate version of Adobe Illustrator
When it comes to creating 3D effects in Illustrator, it’s important to choose the right version of the software. Adobe Illustrator offers different versions with varying features and capabilities. Make sure to choose a version that supports the 3D tools and features you need for your design project. Check the system requirements and features list of each version to ensure compatibility with your computer and to take advantage of the latest enhancements in 3D design.
Understanding the 3D tools and features in Illustrator
Before diving into creating 3D shapes and effects, it’s crucial to have a good understanding of the 3D tools and features available in Adobe Illustrator. Familiarize yourself with the 3D effect options, such as revolve, extrude, and mesh, as well as the tools for manipulating 3D objects, adjusting lighting, and applying materials. Take the time to explore the various settings and options within the 3D panel, appearance panel, and other relevant panels to get a grasp of how they work together to create stunning 3D designs.
Configuring the workspace for 3D design
To optimize your workflow when working on 3D designs in Illustrator, it’s recommended to configure your workspace by customizing panels, toolbars, and shortcuts. Arrange the panels in a way that suits your preferences and enables easy access to the 3D-related tools and features. Consider adding the 3D panel, appearance panel, layers panel, and other relevant panels to your workspace for quick access. Additionally, you can save your custom workspace layout to ensure consistency and efficiency in your 3D design process.
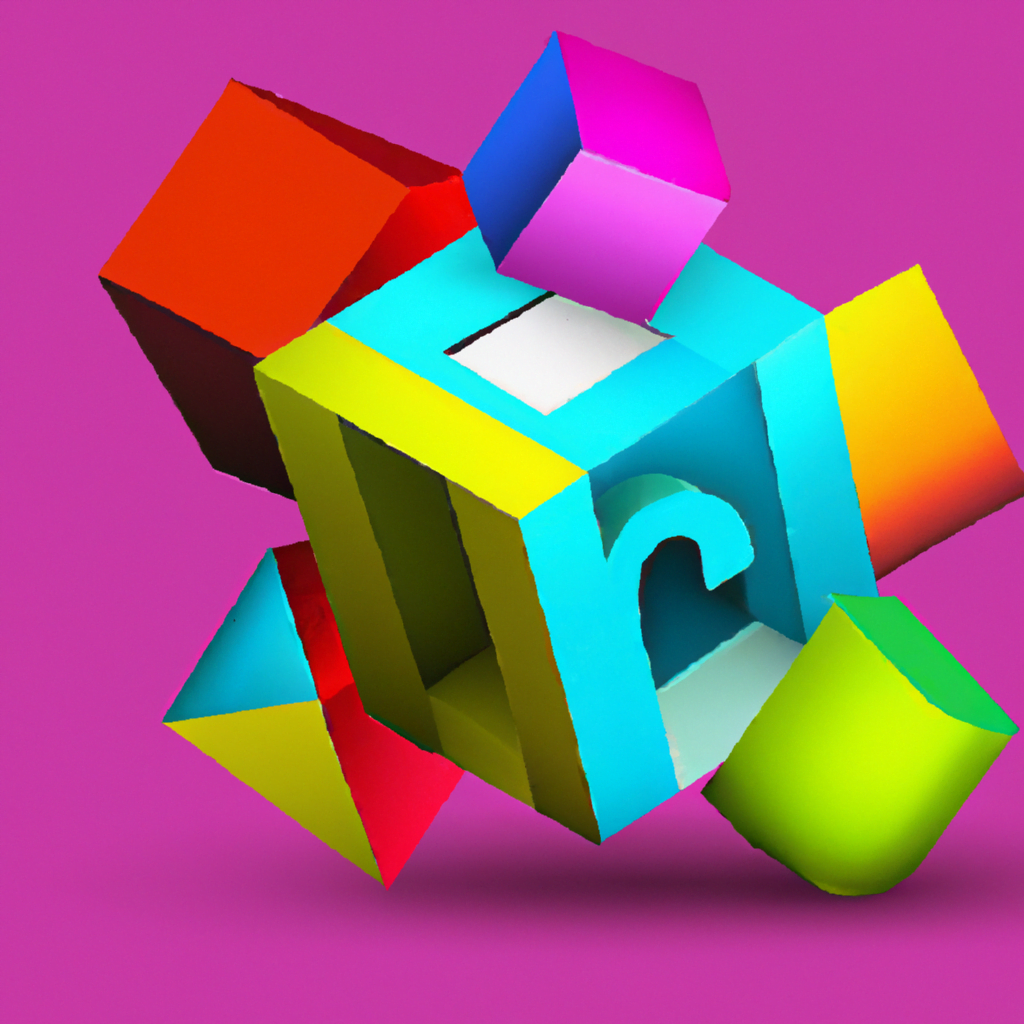
Creating Basic 3D Shapes
Using the 3D revolve effect to create a 3D cylinder
One of the basic techniques for creating 3D shapes in Illustrator is by using the 3D revolve effect. With this effect, you can easily transform a 2D shape, such as a circle or rectangle, into a 3D cylindrical form. Simply select your shape, go to the effect menu, choose 3D, and then select the revolve option. Adjust the settings and parameters to achieve the desired shape, rotation, and perspective for your cylinder. This technique is great for creating objects like cans, bottles, or other cylindrical forms in your 3D illustrations.
Creating a 3D cube using the extrude effect
Another fundamental method for creating 3D shapes in Illustrator is through the extrude effect. This technique allows you to convert a 2D shape into a 3D object with depth and dimension. Start by selecting your shape, then go to the effect menu, choose 3D, and select the extrude option. Adjust the settings to specify the depth, perspective, and orientation of your cube. This technique is perfect for creating boxes, buildings, or any other objects that require a cuboid shape in your 3D designs.
Manipulating and adjusting the dimensions of 3D shapes
Once you have created a basic 3D shape using either the 3D revolve or extrude effect, you can further manipulate and adjust its dimensions to achieve the desired look. With the Direct Selection tool, select the individual anchor points or edges of the shape and use the scale or rotate tools to modify their position, size, or angle. You can also use the Perspective Grid tool to add depth and perspective to your 3D shape. Experiment with different transformations to create unique and customized 3D shapes for your illustrations.
Applying Materials and Textures
Understanding the appearance panel and its role in applying materials
The appearance panel is a powerful tool in Illustrator that allows you to apply materials, textures, and other visual effects to your 3D objects. By selecting a 3D shape and accessing the appearance panel, you can add multiple fills and strokes, adjust their attributes, and apply blending modes, transparency, and more. The appearance panel also enables you to add gradients, patterns, and image textures to your 3D objects, giving them a realistic and visually appealing look. Experiment with different settings and combinations in the appearance panel to enhance the materials and textures of your 3D designs.
Adjusting the color, opacity, and shading of materials
When working with materials in Illustrator, it’s important to pay attention to the color, opacity, and shading of your objects. Use the color picker or swatches panel to select the appropriate color for your material and adjust its opacity to achieve the desired level of transparency or translucency. Additionally, explore the shading options available within the 3D effect settings or the appearance panel to control the lighting and shadow effects on your materials. By experimenting with different color combinations, opacities, and shading techniques, you can create visually striking and realistic materials for your 3D designs.
Adding textures to 3D shapes
Textures play a crucial role in adding depth, detail, and realism to your 3D shapes. Illustrator provides various tools and methods to apply textures to your 3D objects. One option is to use image textures, where you can import an image file and apply it as a texture onto your 3D shape. Another option is to create custom textures by using the gradient, pattern, or brush tools within Illustrator. Experiment with different texture types and settings to achieve the desired effect. Consider the scale, rotation, and mapping options available within the 3D effect settings to control how the texture is applied to your shape. Adding textures can greatly enhance the visual impact of your 3D designs and make them more engaging to the viewer.
Working with Lighting and Shadows
Exploring the different lighting options in Illustrator
Lighting is a crucial element in creating realistic 3D effects in Illustrator. By understanding and utilizing the different lighting options available in the software, you can control the ambiance, mood, and depth of your 3D objects. Illustrator offers various types of lighting, including point lights, distant lights, and infinite lights, each with its own properties and effects. Experiment with the position, angle, and intensity of your light sources to achieve the desired lighting effect on your 3D shapes. Consider the interplay between light and shadow to create a visually captivating and dynamic composition.
Adjusting the intensity and direction of light sources
Once you have chosen the type of light source(s) for your scene, you can further refine the lighting by adjusting the intensity and direction of the light. The intensity of the light determines its brightness and how it illuminates the objects in your scene. Adjust the intensity to create highlights and shadows that convey depth and dimension. The direction of the light determines the angle from which the light hits the objects and affects how the shadows are cast. Experiment with different intensities and directions to create interesting and realistic lighting effects in your 3D designs.
Creating realistic shadows for 3D objects
Shadows are an essential component of creating realistic 3D effects in Illustrator. They add depth, dimension, and a sense of grounding to your objects. Illustrator allows you to manipulate and customize the shadows cast by your 3D shapes. Adjust the opacity, blur, and color of the shadows to achieve the desired effect. Consider the position, size, and orientation of your light source(s) to ensure that the shadows are cast realistically and enhance the overall composition of your 3D design. By paying attention to the details of the shadows, you can create a more immersive and visually appealing 3D illustration.
Adding Depth and Perspective
Utilizing the perspective grid tool for creating depth
The perspective grid tool in Illustrator provides a helpful framework for creating depth and perspective in your 3D designs. By enabling the perspective grid, you can easily align and position your 3D shapes within a simulated three-dimensional space. This tool allows you to create vanishing points, horizon lines, and grid planes, giving your objects a sense of depth and spatial relationship. Experiment with the perspective grid tool to add depth and perspective to your 3D illustrations and create more visually engaging compositions.

Applying perspective effects to 3D shapes
In addition to using the perspective grid tool, Illustrator offers perspective effects that can be applied directly to your 3D shapes. By selecting a 3D object and accessing the effect menu, you can choose the perspective option, which allows you to modify the shape’s perspective and adjust its vanishing points and horizon line. With this capability, you can create unique and dynamic angles, distortions, and perspectives for your 3D objects, adding depth and visual interest to your designs. Experiment with different perspective effects to create compelling and visually stunning 3D compositions.
Creating depth of field in 3D illustrations
Depth of field refers to the range of focus in a scene, where objects closer or farther away from the viewer appear blurred or out of focus. In Illustrator, you can simulate depth of field effects using various techniques. One approach is to use the Gaussian Blur effect to blur the objects that are farther away or in the background of your composition. Another option is to adjust the opacity or transparency of objects to create a sense of depth and distance. By manipulating the depth of field in your 3D illustrations, you can add a realistic and visually appealing aspect to your designs.
Using Symbols and Patterns
Creating and using symbols in 3D designs
Symbols in Illustrator are reusable elements that can be easily duplicated and modified throughout your artwork. When working with 3D designs, utilizing symbols can be a time-saving technique. Create symbols from your 3D shapes or other design elements, and then use them to populate your composition. Make adjustments to individual instances of the symbol, and those changes will be applied to all instances. This feature is useful for creating repeating objects, such as trees, buildings, or other elements in your 3D scenes. By utilizing symbols, you can maintain consistency and efficiency in your 3D design process.
Applying repetitive patterns to 3D objects
Patterns can add complexity and visual interest to your 3D designs. Illustrator offers a wide range of pattern creation and application tools that can be used to apply repetitive patterns to your 3D objects. By selecting a 3D shape and accessing the appearance panel, you can add a pattern fill and adjust its scale, rotation, and other attributes. Experiment with different pattern styles, such as geometric, organic, or textured, to create unique and visually striking patterns for your 3D objects. Patterns can help to create visually dynamic compositions and enhance the overall aesthetic of your 3D designs.
Using symbols and patterns for complex 3D illustrations
When working on complex 3D illustrations, combining symbols and patterns can be a powerful technique. Use symbols to create repeating elements or objects and apply patterns to those objects to add complexity and detail. By varying the scale, rotation, and position of symbols and patterns, you can create intricate and visually captivating compositions. Experiment with different combinations and arrangements to achieve the desired effect. This technique is particularly useful for creating complex scenes, such as cityscapes, landscapes, or intricate designs, where repetition and detail play a significant role in the overall composition.
Working with Blends and Gradients
Utilizing blends to create smooth transitions in 3D objects
Blends in Illustrator enable you to create smooth and seamless transitions between two or more objects. When working with 3D objects, blends can be used to create gradual changes in shape, color, or position. Select two or more objects, go to the object menu, choose blend, and select the desired blend options. Adjust the parameters, such as the number of steps, orientation, or spacing, to achieve the desired transition effect. This technique is especially useful for creating smooth transitions between 3D shapes, such as morphing one shape into another, or creating gradients between different materials or textures.
Applying gradient fills to add depth and dimension
Gradients are a powerful tool for adding depth, dimension, and visual interest to your 3D designs. In Illustrator, you can apply gradient fills to your 3D objects to create smooth color transitions and shading effects. When working with gradients, consider the lighting and perspective of your scene to achieve realistic and visually appealing results. Experiment with different gradient types, such as linear, radial, or freeform, as well as the color stops and blending modes, to create unique and dynamic gradient fills for your 3D designs. Gradients can greatly enhance the visual impact of your objects and make them more visually appealing to the viewer.
Combining blends and gradients for advanced 3D effects
To take your 3D designs to the next level, consider combining blends and gradients for advanced effects. By using blends to create smooth transitions between objects and applying gradients to those transitions, you can achieve complex and visually stunning effects. This technique is particularly effective for creating complex 3D objects with intricate color or texture variations. Experiment with different combinations and configurations of blends and gradients to create advanced and eye-catching 3D effects. The key is to explore and push the boundaries of these tools to create unique and memorable visuals.
Exploring Advanced 3D Techniques
Creating custom 3D shapes using the mesh tool
The mesh tool in Illustrator allows you to create custom 3D shapes with precision and control. By creating a mesh on a 2D object, you can manipulate the individual points or lines of the mesh to create complex 3D forms. Use the mesh tool to add depth, curves, and contours to your shapes. This technique is particularly useful for creating organic or irregular 3D objects, such as human characters, animals, or natural landscapes. Experiment with different mesh configurations, points, and lines to create unique and detailed custom 3D shapes for your illustrations.
Applying perspective distortions to 3D objects
Perspective distortions can add a sense of realism and dynamic perspective to your 3D objects. Illustrator offers tools and techniques to apply perspective distortions to your 3D designs. By selecting a 3D object and accessing the perspective distort options, you can manipulate the shape and perspective of the object in relation to the scene. Adjust the vanishing points, horizon line, and other parameters to achieve the desired perspective distortion effect. Perspective distortions are particularly effective for creating dynamic compositions or adding a sense of movement and depth to your 3D illustrations.
Using the 3D mapping feature to wrap artwork onto 3D shapes
The 3D mapping feature in Illustrator allows you to project artwork onto 3D shapes, giving them a realistic and textured appearance. Select a 3D object, go to the object menu, choose the 3D mapping option, and select the desired projection method. You can then apply artwork, such as textures, images, or patterns, to the surface of your 3D shape. Adjust the scale, rotation, and positioning of the artwork to achieve the desired effect. This technique is particularly useful for creating complex or detailed surfaces, such as clothing textures, characters’ faces, or intricate designs on 3D objects.
Enhancing 3D Designs with Effects and Filters
Applying artistic effects to 3D illustrations
Artistic effects can significantly enhance the visual impact of your 3D designs. Illustrator offers a wide range of artistic effects, such as watercolor, oil paint, and sketch, that can be applied to your 3D objects. By selecting a 3D shape and accessing the effect menu, you can choose from the available artistic effects and adjust their parameters to achieve the desired effect. These effects can add a unique and stylized look to your 3D illustrations, making them stand out and creating a distinct visual identity for your artwork.
Using the liquify tool to manipulate 3D shapes
The liquify tool in Illustrator allows you to manipulate and distort your 3D shapes with ease. By selecting a 3D object and accessing the liquify tool, you can push, pull, warp, and twirl the shape to create unique and organic distortions. This tool is particularly useful for creating abstract or surreal 3D effects or adding dynamic movements to your objects. Experiment with different liquify brush sizes and settings to achieve the desired level of distortion and create visually captivating and intriguing 3D designs.
Applying filters to enhance the appearance of 3D designs
Filters in Illustrator can be used to enhance the appearance and visual effects of your 3D designs. By selecting a 3D object and accessing the filter menu, you can choose from a variety of filters, such as blur, sharpen, or stylize, to apply to your shape. Adjust the filter parameters to achieve the desired effect, whether it’s adding a soft glow, a grainy texture, or a sharpened edge to your 3D object. Filters can add depth, texture, and visual interest to your designs, enhancing the overall aesthetic and impact of your 3D illustrations.
Exporting and Using 3D Artwork
Understanding the different file formats for exporting 3D artwork
When working with 3D artwork in Illustrator, it’s essential to understand the different file formats that are suitable for exporting your designs. For 3D illustrations, you can export your artwork as vector files, such as AI or EPS, which retain the scalability and editability of your shapes and objects. Alternatively, you can export your artwork as raster files, such as JPEG or PNG, which are suitable for digital or web use and retain the visual appearance of your designs. Consider the intended use of your 3D artwork and select the appropriate file format to ensure compatibility and high-quality output.
Importing 3D illustrations into other design software
Illustrator allows you to import your 3D illustrations into other design software, such as Photoshop or InDesign, to incorporate them into larger projects or combine them with other elements. To import your 3D artwork, simply save the illustrations in a compatible file format, such as AI, EPS, or PSD, and then open them in the desired software. This integration enables you to leverage the strengths and features of different design applications, allowing you to work seamlessly across various platforms and create more dynamic and comprehensive designs.
Using 3D artwork in various digital and print platforms
Once you have created your 3D artwork in Illustrator, you can utilize it in a wide range of digital and print platforms. Whether it’s for websites, social media, advertisements, or printed collateral, 3D illustrations can add a unique and eye-catching element to your visual content. Consider the specifications and requirements of each platform, such as file size, resolution, or color space, and optimize your 3D artwork accordingly. Follow best practices for exporting and saving your files to ensure compatibility and high-quality output across different platforms.
In conclusion, creating 3D effects in Illustrator requires a combination of technical knowledge, artistic skills, and experimentation. By understanding the tools, settings, and techniques available in the software, you can push the boundaries of your creativity and create stunning and captivating 3D designs. Whether you’re a beginner or an experienced designer, don’t be afraid to explore and experiment with different approaches and combinations. With practice and persistence, you can master the art of creating realistic 3D effects in Illustrator and bring your imagination to life.